

Building My First Rank And Rent Asset in Public
Undoubtedly, a pivotal step in the rank and rent strategy is the creation of a lead-generating website.
This website will be the cornerstone of your digital presence and the key to attracting potential leads.
Before the website goes live on the Internet, we must first grab a template, run it locally on a personal computer, and then tweak it to suit our needs and goals.
As of now, we have identified the best prerequisites the website should have in this blog article: Rank And Rent Part 4 Website's Tech Prerequisites
Choosing the Template
At this point, identifying a good website template will be ideal.
I went through copious amounts of third-party free template providers and checked out what types of HTML and CSS web templates they offered.
Below are the best HTML CSS free web templates I came across:
- Templatemo: Templatemo has the best and cleanest web templates. From a developer's perspective, some of the templates on this site were carefully crafted and built. I particularly liked the following templates: Magazee Template, Pipeline Template, Mini Profile Template.
- HTML5up : This template provider had some decent options. I particularly liked this template named Miniport.
- Tooplate : Tooplate also had good HTML and CSS web templates. For example, this template named Character
The great news is that all these templates are free. Instead of spending excessive time building the website's user interfaces yourself, it was more efficient to start off with a well-built template from the provider mentioned above.
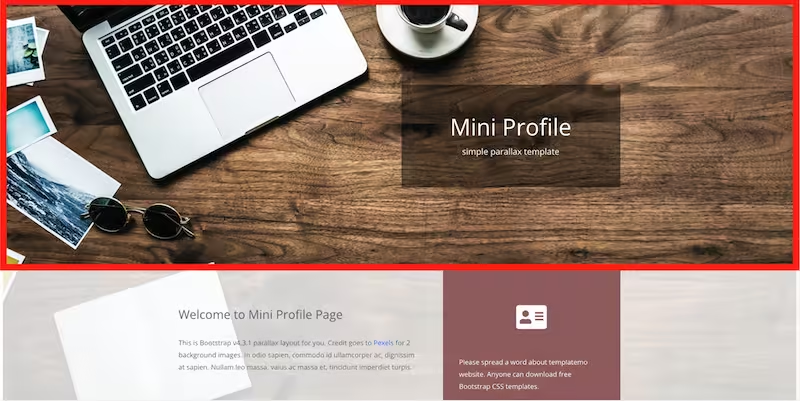
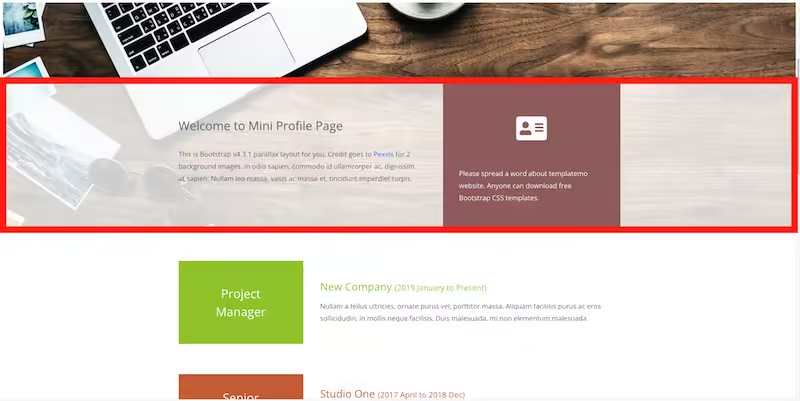
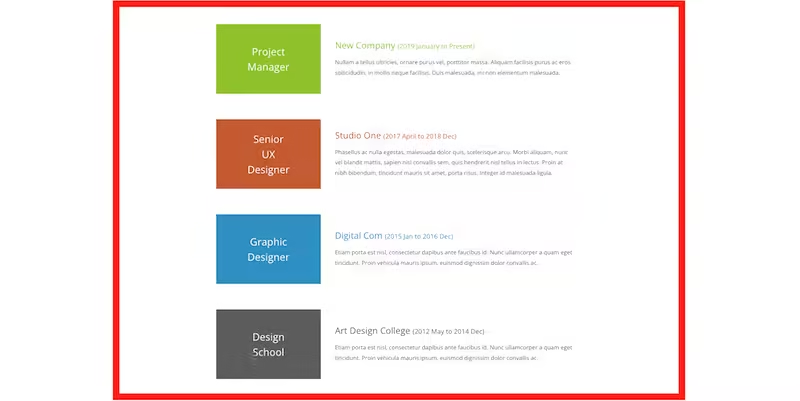
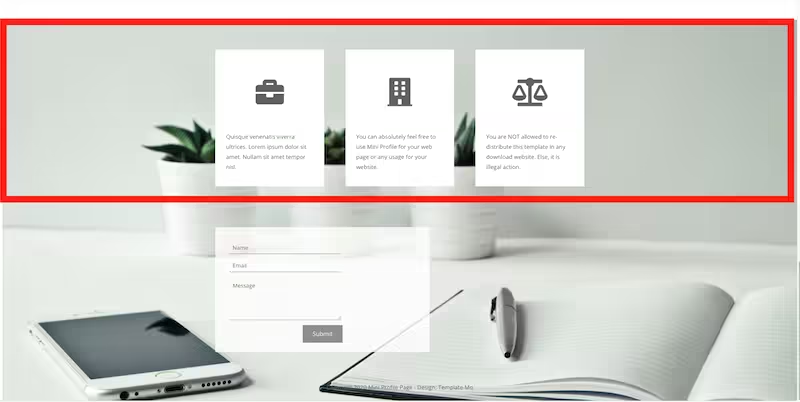
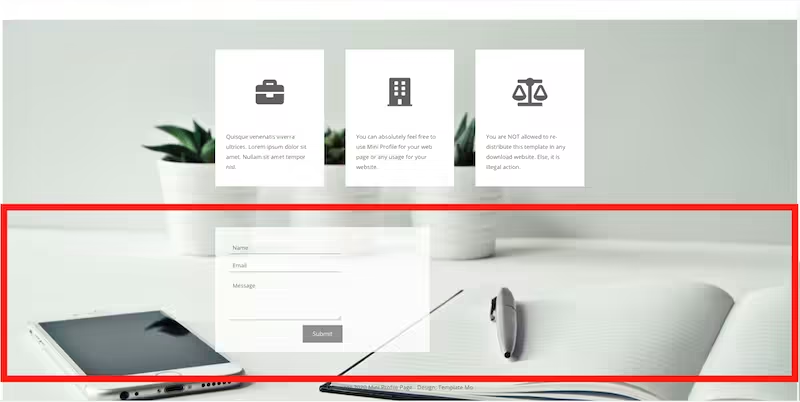
The template I chose was Mini Profile from Templatemo.
Why TemplateMo's Mini Profile Template?
Below is a gif depicting how the template looks like:
I liked its parallax effect. I knew where all the sections I wanted on the website would fit within this template.
I also appreciated the website's simplistic approach. For holistic browser adaptability, it only used HTML, CSS, Bootstrap, and some Javascript scripts.
Most of the other template options not mentioned in this blog were overly complicated with unnecessary animations and used SCSS. SCSS was a technology I had never used before and preferred to avoid because I anticipated that I would have had issues editing the template. Also, if I were to use a template with SCSS, I would have had to learn it, which was something I was not willing to do.
Initial Impressions
When picking the template, I had to preemptively envision where the things I needed on the website would fit. With the Mini Profile template, I could see where things could be placed.
I will embed the following elements into the website to highlight them: a main navigation bar, a footer section, an image of a map, an address section, a list of services with images and descriptions, a review section, and an FAQ section.
Customizing for «Drywall Kingston»
I aim to transform this template into a website for a local drywall business in Ontario, Canada.
Customization Process
The template is missing a main nav bar at the top and a bottom footer, which are very easy to implement.
The main nav bar will contain options to book a call, access the request quote form, and view the phone number.
The footer will contain links to different business social media and to the HTML sitemap, blog, legalities, privacy pages, and phone number.
The main banner will contain an image of a man applying drywall filling with a link to book a call.
Right underneath, there will be an address section with a map. This way, potential clients can quickly determine whether the website can service their location.
I will list all the services under that. Each service will have its respective image, description, and link.
Under that, I will list 3 reviews.
Under that, I will swap this form in the template with an FAQ section.
The final website looks like this:

Setting Up the Local Environment
Choosing the Tech Stack
To recap, I chose the front-end technologies: HTML, CSS, Javascript, and Bootstrap.
Why are these for the front end?
- I need to be able to integrate schemas to my liking.
For the backend, I chose Node.JS (express.js), SQL (MySQL)
Why are these for the backend?
- I already had an NGINX web server running with my hosting plan that I could leverage.
- To cut hosting and third-party service costs.
- To have complete control over the website.
Installing and Configuring the Environment
If you wish to learn or understand how I was able to spin up a local node and express instance locally to serve my template pages, please refer to the blog articles below:
- Project Node JS (This blog can be translated into English through browser settings)
- How To Quit Node
Conclusion
It's important to remember that your first rank and rent site may fail, but this is an opportunity to learn and improve for the next one.
When building your website, note how you will replicate the steps to spin up new sites.
It's essential to have robust systems in place for replicating a site. This preparation will prove invaluable when you encounter the need to restart, especially if your rank and rent site is not positioned on the first page of Google.
Next, we will look into how I bought the domain.
If you found value in my experience with the rank and rent model, I kindly request your assistance in getting this website to rank on page 1. To do so, please consider giving me a backlink to this URL: https://drywallkingston.com with the keyword 'Drywall contractor in Kingston' or simply 'Drywall '.